Contents
Are you ready to give your roof a sleek, finished look while ensuring it withstands the elements? Installing ridge cap shingles is an essential step in preserving your roof’s durability and aesthetics. In this guide, we’ll show you how to tackle this task with confidence! Whether you’re a DIY enthusiast or a homeowner exploring options, this post will walk you through the process, including:
- What are ridge cap shingles?
- Why install ridge cap shingles?
- Preparing your roof
- 7 steps to install ridge cap shingles
- Common mistakes to avoid
- Benefits of professional installation
🤔 What are Ridge Cap Shingles?

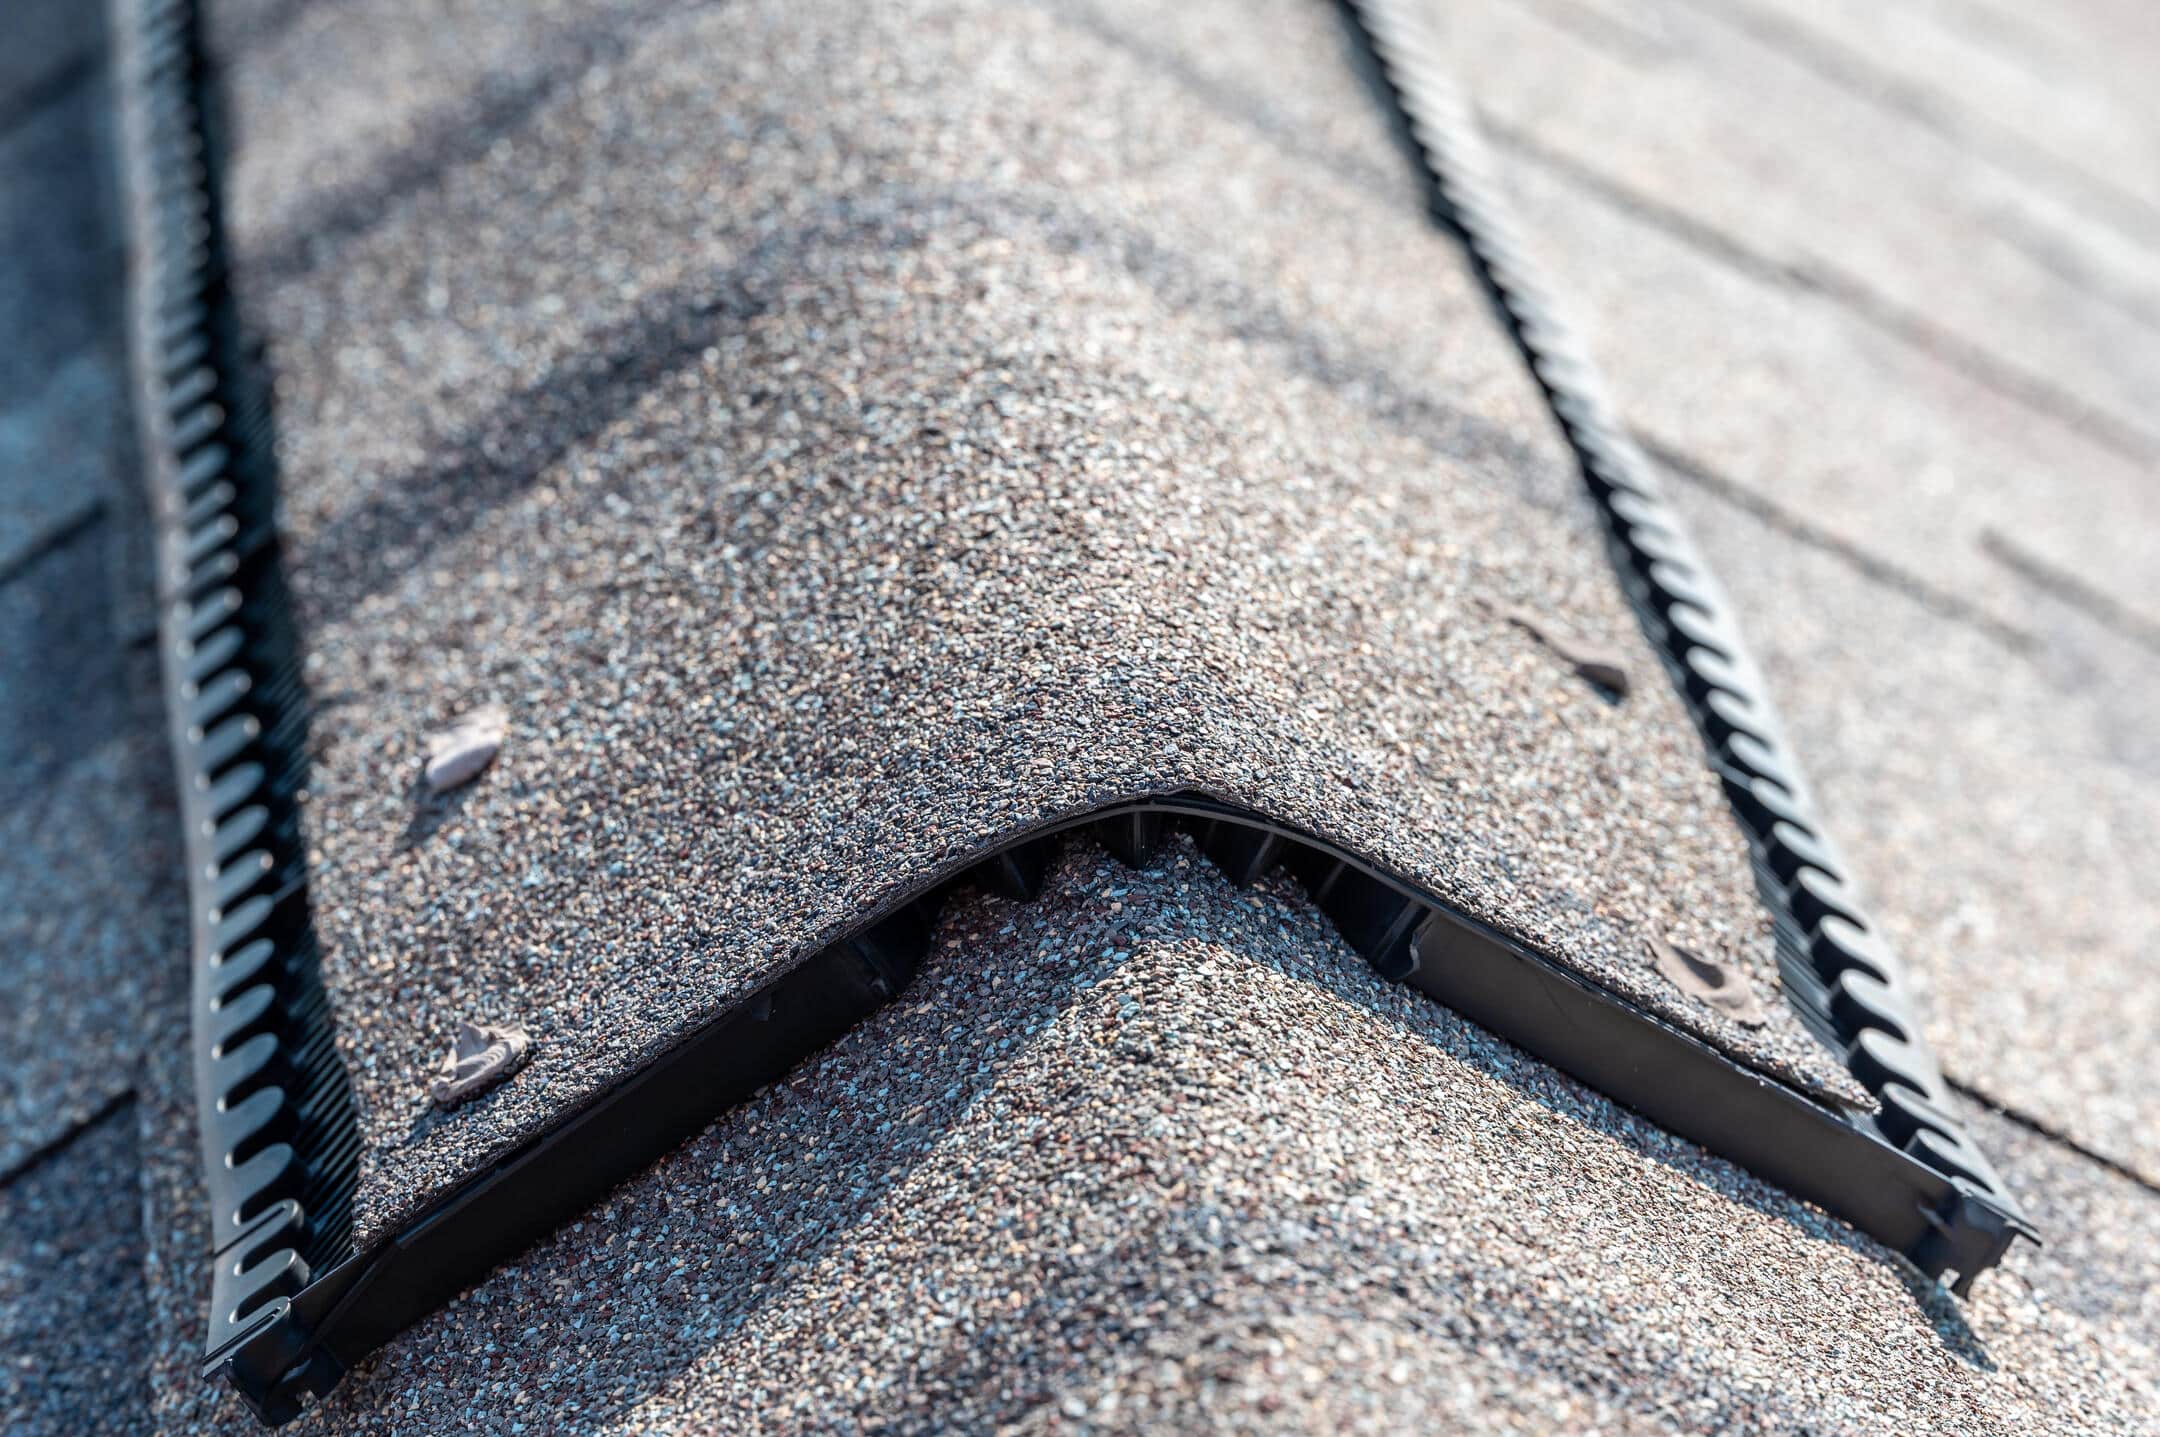
Ridge cap shingles are the protective layer that covers the roof’s peak, or ridge. They’re not just any shingles; they’re specially designed to provide additional protection where two roof slopes meet. These shingles are curved to fit securely over the ridge and are often thicker than standard shingles, maximizing durability.
Key features:
- Curved design for a secure fit over the ridge
- Thicker than standard shingles for added durability
Made from the same materials as traditional shingles, ridge cap shingles come in various styles and colors. This variety allows homeowners to match them seamlessly with their roof, ensuring both functionality and style. Their primary purpose is to seal the roof’s ridge, preventing moisture from seeping in and causing damage.
Benefits:
- Seamless integration with various roof styles
- Enhanced weather resistance and protection
Installing ridge cap shingles is essential for maintaining the integrity of your roof. They provide the finishing touch that not only enhances the appearance but also ensures weather resistance. Without them, the ridge line is vulnerable to wind and water infiltration, which can lead to costly repairs down the road.
👉 Why Install Ridge Cap Shingles?
Ridge cap shingles serve as a vital component of roof installation. They play a crucial role in preventing leaks and protecting the roof’s overall structure. By sealing the ridge line, they act as a barrier against rain, snow, and other weather elements, ensuring your home stays dry and damage-free.
Beyond their functional benefits, ridge cap shingles add a polished finish to any roof. They contribute to the aesthetic appeal of your home, enhancing curb appeal and potentially increasing property value. Their presence signifies attention to detail and a commitment to maintaining a well-kept home.
Another reason to install ridge cap shingles is their ability to increase your roof’s lifespan. By providing added protection at the roof’s highest point, they minimize wear and tear from environmental factors. This makes them a cost-effective investment in the long-term maintenance of your property.
Choosing the Right Ridge Cap Shingles
Selecting the right ridge cap shingles is crucial for both performance and appearance. Consider the material and color of your existing roof when making your choice. Aim for a match that complements your roof’s design while offering the durability you need.
Different materials offer varying levels of protection and longevity. Asphalt shingles are a popular choice due to their affordability and ease of installation. However, for those seeking enhanced durability, metal or composite shingles may be worth considering.
Additionally, pay attention to the shingles’ thickness and warranty. Thicker shingles often provide better protection and may come with longer warranties, offering additional peace of mind. Aligning your choice with your specific needs and budget will ensure optimal satisfaction.
🧰 Preparing Your Roof
Preparation is key to a successful installation. Start by inspecting your roof for any existing damage or debris. Clear away leaves, branches, and dirt to create a clean surface for the shingles. This step is crucial to ensure the shingles adhere properly and provide a tight seal.
Next, make any necessary repairs to the existing roof structure. Check for loose or damaged shingles and replace them before installing the ridge caps. Ensuring the underlying roof is in good condition will enhance the effectiveness of the new shingles.
Finally, use a chalk line to mark the center of the ridge. This guideline will help you align the shingles accurately, ensuring a neat and professional finish. Taking the time to prepare your roof adequately will set the stage for a successful and lasting installation.
Tools and Materials You Will Need
Before you begin installing ridge cap shingles, gather the necessary tools and materials. Having everything on hand will ensure a smooth and efficient installation process. Here’s what you’ll need:
- Ridge Cap Shingles: Choose the right type and quantity to match your existing shingles.
- Roofing Nails: Make sure they are suitable for the shingles you’ve selected.
- Hammer or Nail Gun: For securing the shingles in place.
- Utility Knife: To cut and trim the shingles as needed.
- Chalk Line: To mark the straight line along the ridge for precise placement.
- Safety Gear: Including gloves, goggles, and a safety harness.
Once you have your tools and materials ready, ensure your ladder is stable and positioned correctly. Safety should always be your top priority when working at heights. Double-check the weather forecast to avoid working in wet or windy conditions, which can pose additional risks.
Having all the tools and materials organized will save you time and effort as you work through the installation process. It also allows you to focus on the task at hand without unnecessary interruptions.
🛠️ 7 Steps to Install Ridge Cap Shingles

Ready to start the installation? Follow these steps for a successful ridge cap shingle installation:
1. Measure and Cut
Begin by accurately measuring the length of the ridge to determine how many shingles you’ll need. This will help minimize waste and ensure you have enough material. Carefully cut the shingles to the appropriate size using a sharp utility knife. A precise cut will ensure a professional-looking result and a better fit.
2. Starter Shingle
Place the first shingle at one end of the ridge, making sure it slightly overhangs the edge for optimal water runoff. This overhang is crucial in preventing water from seeping under the shingles. Secure the starter shingle firmly with roofing nails, spacing them evenly along the shingle for stability.
3. Overlap
Overlap each subsequent shingle by positioning it to cover the nails of the previous shingle completely. This overlapping technique is vital for creating a waterproof seal that prevents leaks. Ensure each shingle is aligned properly to maintain a uniform appearance along the ridge.
4. Continue Laying Shingles
Continue laying the shingles along the entire length of the ridge. Maintain the same overlapping pattern to ensure a tight seal. Secure each shingle with roofing nails, ensuring they are driven in straight to avoid damaging the shingle or compromising the seal.
5. Finish with a Final Shingle
When you reach the end of the ridge, trim the final shingle to fit perfectly. This may require precise cutting to accommodate any irregularities. Ensure this last shingle overlaps the one before it adequately, then secure it firmly with nails to complete the installation.
6. Seal the Edges
Apply roofing cement along all the edges of the shingles to enhance the waterproofing capabilities. This step is especially important in areas prone to high winds, as it helps protect against wind uplift. Be sure to apply the cement evenly for the best protection.
7. Inspect the Installation
Finally, conduct a thorough inspection of the entire ridge cap installation. Check that all shingles are secure and properly aligned, ensuring there are no exposed nails or gaps. This final step confirms the durability and effectiveness of your installation, safeguarding your roof against the elements.
🚫 Common Mistakes to Avoid
Installing ridge cap shingles may seem straightforward, but common mistakes can compromise their effectiveness. Avoid these pitfalls to ensure a successful installation:
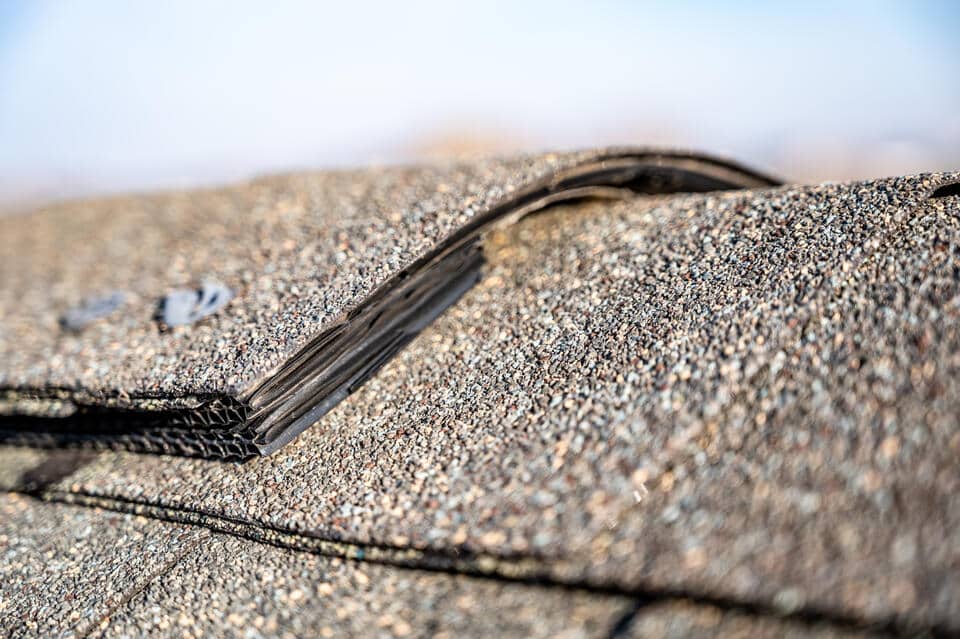
First, avoid skimping on nails. Using too few can result in loose shingles that are susceptible to wind damage. Ensure each shingle is nailed securely according to manufacturer guidelines.
Second, pay attention to alignment. Misaligned shingles can create gaps that allow water to seep in. Use a chalk line to maintain a straight and even ridge line.
Lastly, don’t forget to check the weather. Installing shingles in wet or windy conditions can lead to safety hazards and poor adhesion. Choose a clear, calm day to complete your project with precision.
Maintenance Tips for Ridge Cap Shingles
Regular maintenance will extend the life of your ridge cap shingles and ensure they continue to protect your roof effectively. Here are some tips to keep them in top condition:
- Inspect your roof regularly, especially after severe weather. Look for signs of damage or loose shingles and address any issues promptly to prevent further damage.
- Keep your roof clean by removing debris such as leaves and branches. Accumulated debris can trap moisture, leading to mold and deterioration over time.
- Consider applying a sealant or protective coating to enhance the shingles’ durability and weather resistance. This added layer of protection can prolong their lifespan and preserve their appearance.
👨🔧 Benefits of Professional Installation

While DIY installation can be rewarding, hiring professionals offers several advantages. Experienced roofers have the skills and tools needed to complete the job efficiently and safely. They can also identify potential issues that may not be apparent to the untrained eye.
Professional installation often comes with a warranty, providing peace of mind that your investment is protected. This coverage can be invaluable in case of unexpected problems or repairs.
Additionally, professionals have access to high-quality materials and can ensure proper installation techniques are followed. This results in a more durable and long-lasting roof that stands up to the elements.
Cost Considerations
The cost of installing ridge cap shingles can vary based on factors such as material choice, roof size, and labor rates. While DIY installation may save money upfront, consider the long-term benefits of professional installation.
Investing in high-quality materials and expert installation can lead to lower maintenance costs and a longer-lasting roof. Weigh these factors when budgeting for your project to make an informed decision.
For those concerned about costs, many roofing companies, like SMR Home Pros, offer financing options to help manage expenses. Explore these options to make the project more affordable without compromising quality.
🙌 Enhance Your Roof’s Durability and Aesthetics with Ridge Cap Shingles
Ridge cap shingles are a crucial component of a well-protected and aesthetically pleasing roof. With a focus on durability, correct installation, and ongoing maintenance, they can significantly enhance your roof’s performance and longevity. At SMR Home Pros, our team of experienced professionals is dedicated to providing top-notch service to meet all your roofing needs. We pride ourselves on our meticulous approach to installation, use of high-quality materials, and commitment to customer satisfaction. Trust us to ensure your roofing project is completed with precision and care. Ready to get started on enhancing your roof? Contact SMR Home Pros today for a consultation and take the first step toward a stronger, more dependable roofing system.


